 Hi Friends!
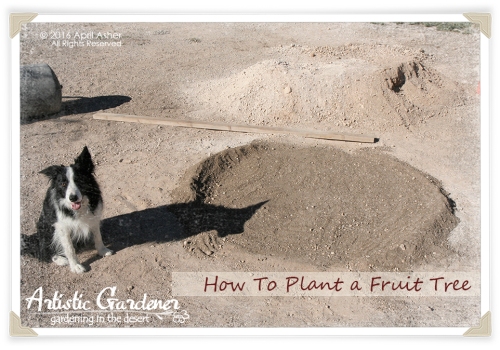
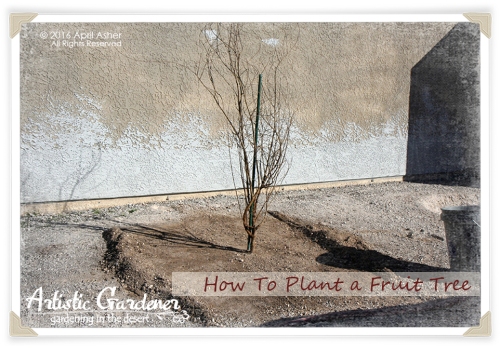
Here it is, the next post in my fruit tree blog series. Enjoy!
Late January thru mid-February is the best time to plant fruit trees here in the desert. Most fruit trees are dormant this time of year (with the exception of citrus and other evergreen fruit trees) which allows them to be planted with minimal stress during this time period. Leafing out is a sure sign that a fruit tree is well on its way to waking up from its winter slumber leaving it more vulnerable to the stress of planting. Also, the January/February time frame allows newly planted fruit trees plenty of time to get settled into their new home before a couple of huge major stressors enter into their life… our drying spring winds and searing hot summer weather. In my opinion, planting a fruit tree in March, April or May is far from ideal. Fruit trees are definitely awake by this time, the wind and heat are starting to kick up and the chance of planting failure increases exponentially.
In some cases, planting March thru May is your only option. Such is the case with citrus and other evergreen fruit trees which are typically not available until spring when the weather warms due to the tree’s sensitivity to cold. Thus, colder weather is actually a major stressor in their lives.
On the extreme side of things, I shudder when I see people here planting fruit trees in the hottest months of June thru September. I usually smile, give them a pat on the back and wish them good luck. In the majority of cases I’ve seen, the trees just never seem to recover from such a poor start. The growth is usually weak and struggling and the tree rarely ever seems to thrive and achieve its full potential. As with everything in life, there are always exceptions… the one super fruit tree that seems to thrive regardless of what you throw at it. Just don’t expect it.
Some folks like to plant fruit trees here in our desert in the fall. To me, this is a much better option than planting in late spring and summer, but I tend to shy away from this time frame as well. Again, my focus is on minimal stress to the fruit tree and subjecting the tree to potential freezes throughout winter as well as extreme temperature changes (i.e., frigid nights and hot days) may not be optimal. Now if you’re an experienced orchardist and know how to properly protect a fruit tree through extreme weather, than this may be a viable option for you.
Bottom-line is this, stress, to any plant, does not promote health and vigor and can lead to a whole gamut of issues such as disease, pest issues, poor growth, poor yields/fruit, and so on. Our goal in planting fruit trees in our orchard is to provide the least amount of stress throughout not only the planting process, but throughout its entire lifetime as well so the fruit tree can thrive and obtain (and maintain) its full potential.
With that said, here’s a cautionary point I want you to be aware of…
Caution: Avoid Planting Fruit Trees On A Windy Day!
The ideal time to plant a bare root fruit tree is on a cool calm day. Add in a bit of drizzly weather and you have perfection. But since perfection is hard to come by in weather these days, chances are you’ll be dealing with some sort of weather challenge while you plant your new bare root fruit tree. One challenge that is particularly harsh is wind. Wind can really do a number on exposed bare root fruit tree roots (say that three times fast 🙂 ). It only takes a few short minutes of blasting wind to dry out those tender wispy little hair-like roots. Early on in the process, it’s important these precious little roots (along with the more fibrous roots) are kept healthy and viable as they are so critical to your tree’s health and play such a key role in up taking nutrients, water and interacting with soil life.
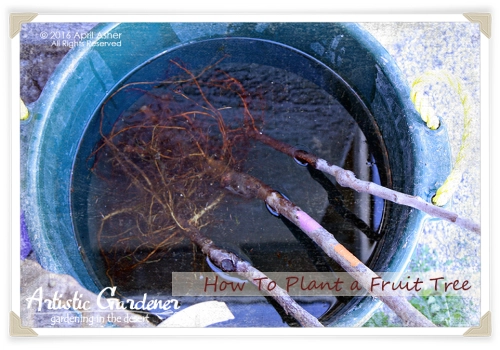
On those occasions when you do find yourself having to plant on a windy day, just be sure to keep the roots wet by placing your bare root fruit tree roots in a bucket of fresh water while you’re getting ready to plant them into the ground. Though, avoid soaking the graft union (the joint where the root-stock and the scion have been joined together ~ typically a few inches above the root area). You can also stage your fruit tree somewhere close by so you can easily wet down the roots often to keep them moist. Also, be sure to keep the roots moist throughout the entire planting process as well by wetting down the roots often until you’re able to completely cover them with moist soil.
Seriously folks, do your best and plant when it’s most convenient for you… just be certain to be gentle and attentive to your baby fruit tree’s well-being and you’ll be good to go.
Now, let’s plant those patiently waiting bare root fruit trees!
Tools and Supplies
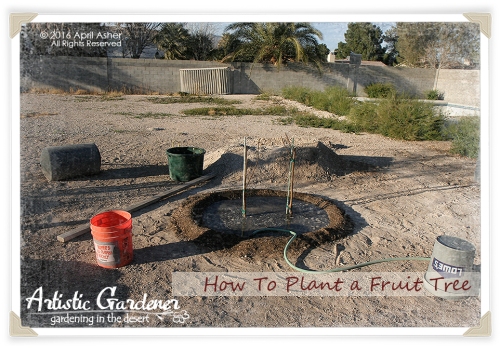
Here’s a list of tools and supplies you’ll need throughout the planting process. Gather together all of the supplies you’ll need before you begin planting and be sure to set up everything near your planting site for easy access.
- Set Aside Two to Three 5-Gallon Buckets Full of 50/50 soil mix (50% forest or green waste compost / 50% native soil) ~ You’ll need these buckets full of soil mix to finish off the planting process and to build up a water well around the base of your fruit tree when you’re all done.
- 4 to 6-foot long Metal Rebar, 1×1 Wood Stakes, or Metal Landscape Stakes (green plastic coated steel) ~ you’ll need these to help support your baby fruit trees.
- Hammer or Rubber Mallet ~ to hammer in the support stake
- 1/4″ to 1/2″ Green Nursery Tape ~ To tie your fruit tree to the support stake (we prefer the 1/4″)
- Water Hose
- Shovel
- A 5-foot to 6-foot long wooden stake ~ to help properly position your tree during the planting process and to level the soil after planting
Amendments (for high brix ~ bionutrient fruit)
Now that you have your tools and supplies set aside, it’s time to focus on gathering the amendments you’ll use to start your bare root fruit trees off on the road to high brix bionutrient (nutrient dense) fruit. That means super slurpy sweet delicious fruit that will make every cell in your body sing with vibrant health!
Be sure to check out Step 5 ~ Kick Start Those Soil Microbes! in my Fruit Trees: How To Prepare Soil For Planting
- OMRI-Certified Organic Animal or Fish Bone Meal ~ a good source of phosphorus and calcium; you’ll need about 2 cups per fruit tree.
- A Variety of Rock Dusts ~ Rock dusts are a great source of minerals for our soil and mineral-rich fruit (a.k.a. high brix). Rather than rely on a single source of rock dust, I like to use a mixture for a variety of minerals. In addition to using Azomite (granular or microfine powder works ~ I’m trying the granular product this planting season. It quickly breaks down with water and eliminates the dust-factor). I also love to use microfine Basalt rock & Lignite Ore dust blend, Gaia Green Glacial Rock Dust, and a new rock dust product I’m using this year called Ruby Mountain Stone Flour. As for quantities, I typically use 1 lb of Azomite and 8 ounces of Gaia Green Glacial Rock Dust per fruit tree. I’ll be adding about 8 ounces Basalt rock dust blend and 8 ounces of the Ruby Mountain rock dust, but this is highly optional. You may want to wait until I’ve had a chance to experiment with it, though I’m sure it’s going to be an awesome addition. Keep in mind that with rock dusts, a little goes a long way. Using too much can cause a chemistry imbalance in your soil. Always be on the safe side and have your soil tested before liberally adding amendments in.
- Endo mycorrhizae inoculant (Ecto mycorrhizae benefits conifers & oaks)
- John & Bob’s suite of products ~ You’ll broadcast this on the soil surface AFTER planting.
- For an extra boost, you can also mix into the top 6-inches of soil (during the planting process) about 1 lb of OMRI-Certified Organic Alaska Humus and/or 1 lb of OMRI-Certified Organic Worm Castings. It’s all good stuff.
Step 1 ~ Let’s Get Planting!
Before you begin planting, make sure you’re prepared to do so. Check out my previous post for more details.
With your planting holes dug, soil and hole prepped, tools and supplies staged nearby, and your bare root fruit trees ready to go, select the first fruit tree to be planted. Grab the fruit tree and place it in a small bucket with just enough fresh water to completely cover the roots and set it close by your planting hole. You can skip the bucket of water if that makes more sense for your situation. Just be certain to keep the roots nice and moist.
 Planting a potted fruit tree?
I prefer to plant bare root fruit trees for optimum tree and orchard health as well as variety selection. Be sure to check out why.
Sometimes containerized fruit trees are our only option. No problem. Rather than placing your tree in a bucket of water to keep its roots moist, which would obviously make a complete muddy mess, make sure your potted fruit tree is well watered the day before planting. This will allow you to easily remove and handle the tree’s root ball while ensuring the roots are moist and ready to go 🙂
 For those of you who prepared your holes in the fall and completely filled them with the 50/50 soil mix AND have been watering the soil to keep the microbes happy and healthy… stop watering the soil a few days before planting so it will be more workable. Next, dig down about 12″-18″ ~ just enough for the roots to fit comfortably in. Then continue onto the next step below.
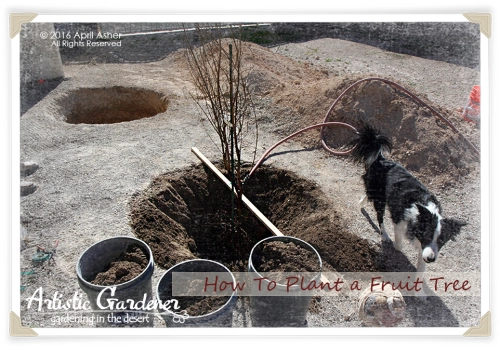
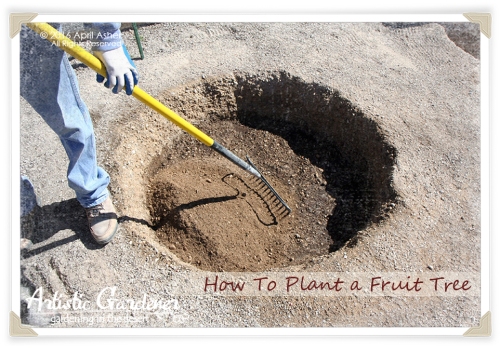
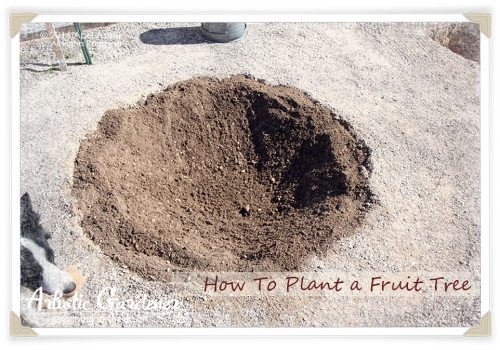
Finishing up your holes as we speak? That’s okay, too. After digging the planting hole and mixing up your 50/50 soil mix, fill the hole up to about 12″-18″ from the top with your 50/50 soil mix so that the roots will fit comfortably in. Make certain to water the soil thoroughly as you fill the hole to help the soil settle. Then stop watering when you get close to the 12″-18″ mark. This will make the planting process much easier for you.
Step 2 ~ Placing Your Fruit Tree
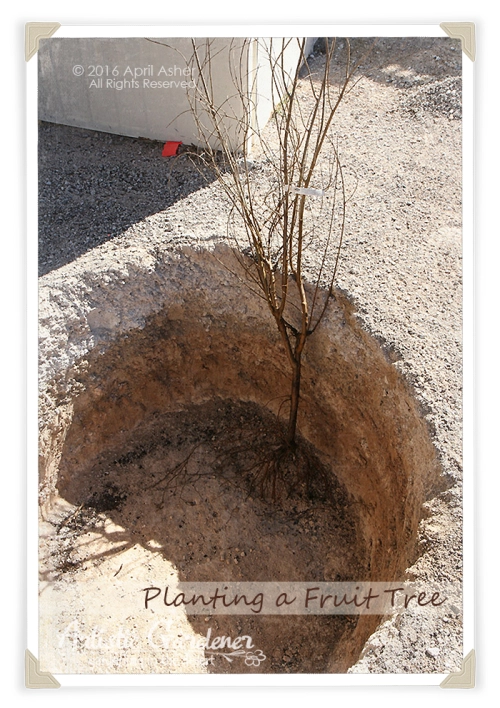
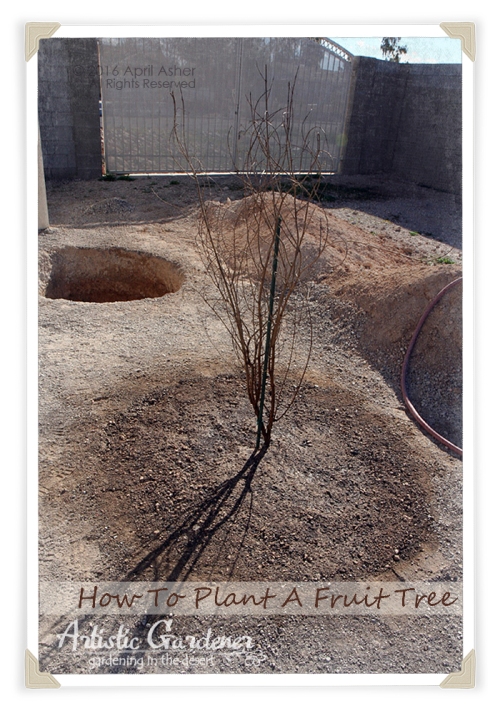
During this step, be prepared to move your bare root fruit tree in and out of the hole while you get the depth and placement exactly where you want it. Remember ~ keep those roots moist while you get the placement “just right”.
How do you know the right planting depth for your fruit tree. With potted fruit trees, it’s easy. Basically, the top of the soil in the pot is your guide ~ it should be level with the top of your ground soil. For a bare root fruit tree, it can be a bit trickier. You’ll need to identify where the previous soil line was.
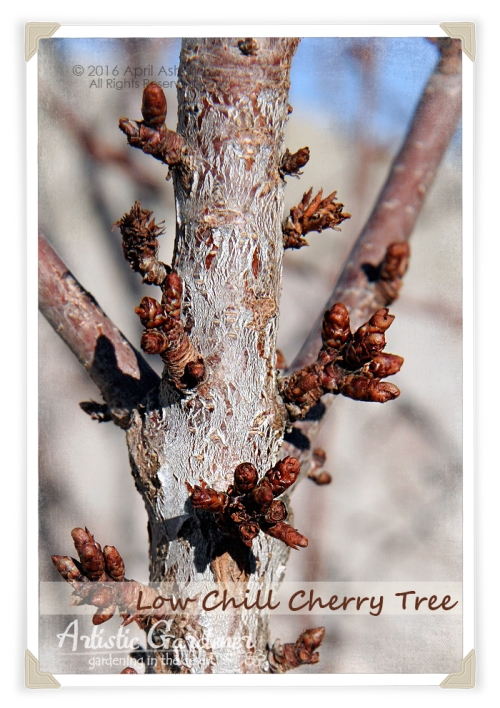
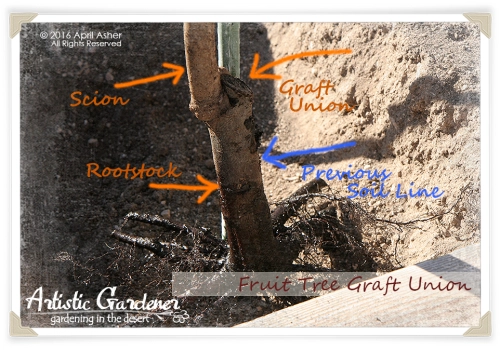
To do this, simply look carefully at the base of the trunk, below the graft union and just above the roots. The part of the trunk that was above the soil will be a slightly different color than the part of the trunk that was originally below the soil. Keep in mind that on some specimens the soil line discoloration is clear as day. Others, can have a more subtle marking. I would consider the example in the photo below on the subtle side of things.
Notice the roots in the photo are fairly dark (partly because they’re wet). Then, as you move up the trunk the bark becomes a little lighter. And there, at the indicated blue line, is the soil line discoloration. Pretty faint, right? As you move past this point, the trunk bark gets lighter yet, then you’re at the graft union. Just do your best ~ if you plant a little above or below the line, the tree will do absolutely fine.
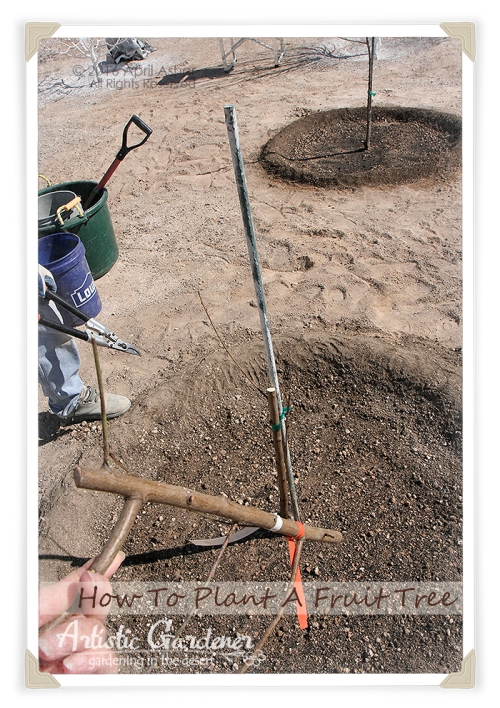
 Hubby and I also like to use a long board to help place the fruit tree’s previous soil line level with the surrounding soil. The board helps us to line everything up just perfectly. Works like a charm every time 😀
 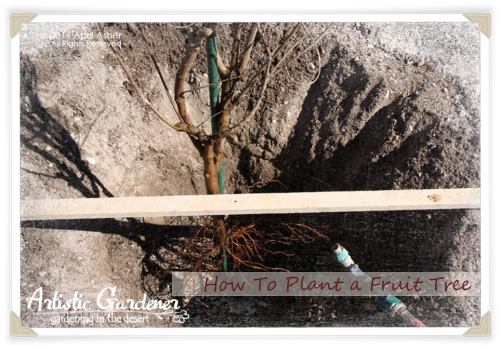 At the point you are absolutely certain that the planting depth is right, thoroughly moisten the soil and set your tree in ~ Never plant in a dry hole! At this stage of the planting process, it’s extremely helpful to have a helper who can hold the tree upright through the first part of the planting process. At least until the tree is securely in place. Your helper can also use the hose to wet down the roots and moisten the planting hole soil for you, too. Some folks like to leave the hose trickling into the hole while they plant. Personally, I like to hand water the soil as we’re filling the planting hole with dirt rather than have the hose in the hole. It allows me to quickly shut off my watering hose nozzle when I need to.
Now, as you begin to position your tree within the planting hole, pay careful attention to the graft union. Newbies tend to focus on situating a tree based on the existing branch position and fail to properly place a fruit tree with a grafted trunk. To protect the graft union, position it away from the damaging hot south sun by facing it due north. This is especially important while the fruit tree is young and unable to protect the graft with its small leaf canopy. Also, you want the graft union a few inches above the soil line (the previous soil line will help you with that). So be careful not to accidentally bury it.
Step 3 ~ Stake The Tree
For the most part, Hubby and I like to stake our are bare root fruit trees at this stage so we can clearly see the roots to avoid damaging them when the stake goes in and to add an endo mycorrhizae inoculant directly to the exposed wet roots. Some folks like to stake their newly planted fruit trees when they are all done planting, but it’s a bit more challenging to dust the roots with the mychorrizae inoculant doing it this way. Do what works best for you. Here’s how we stake our trees…
With the fruit tree held firmly in its final perfect position by a helper (or creatively propped up if you’re planting on your own)..
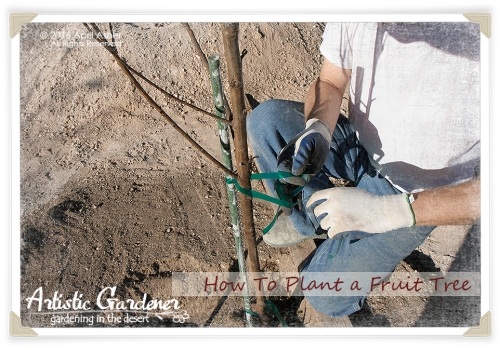
1) Position and hold your support (i.e., rebar, 1×1 wood stake, plastic covered metal stake) close to your tree’s trunk ~ working safely in and around the tree’s roots
2) Lean the tree slightly away to prevent damage, then
3) Hammer the support securely into place keeping it level straight up and down and left to right ~ otherwise, when you go to secure your tree to the stake it could be cockeyed.
4) Now with the tree trunk up against the support, secure the trunk firmly to the support using green nursery tape. This stuff is pretty stretchy, so a little pulling and tugging while tying will firmly secure your baby fruit tree. Try to avoid tying the tape too tight, but you do want it pretty snug. Your goal is to prevent movement of the roots during acclimate weather, especially during high winds. Strong winds are an annual spring event here in the desert and just so happens to take place at the exact same time your baby fruit trees are getting established in your newly formed orchard. Why is it so important to prevent root movement during this critical time in your fruit tree’s growth cycle? Simply put, a loose tree can rock back and forth causing the soil to dislodge, creating holes and wide cracks around the base/root ball of the tree. These open spaces in the soil can expose the fruit tree’s tender roots to air ultimately drying them out, causing the tree to stress and negatively impacting the health of the tree. Hubby and I try our best to secure the tree trunk to the support near the base of the tree and toward the top to make certain the tree is secure. Sometimes we’ll just tie it towards the top of the tree. Use your best judgment.
 For those of you worried about girdling, no worries. Once the tree starts to leaf out, you will need to check the ties to make sure they are still firmly in place but not choking the dickens out of the tree trunk. At that time you may need to loosen the tie a bit. Our trees grow extremely well using our planting and care methods and typically have well established roots, and a nice sized trunk and canopy by the end of the season. Because of this, we typically loosen the ties at this stage to give them some breathing room.
With the fruit tree firmly in place, your helper can finally let go of the tree and lend a hand in the final planting process. 😀 Before you begin covering your roots with soil and filling the hole, you’ll need to add some amendments (see next step). Just remember to keep your roots wet. You can also begin adding some water to the planting hole just underneath the root ball to help the soil settle under the roots.
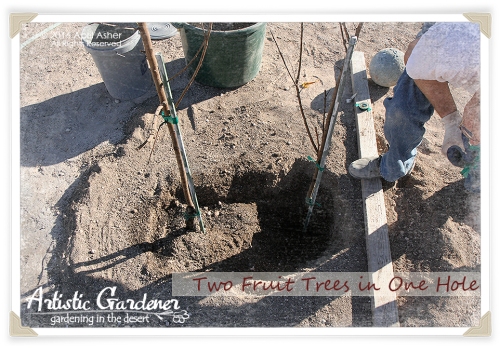
What if you’re planting two or more fruit trees in one hole? Simple. Just follow the steps above leaving 18″ between each tree ~ plenty of room for both to grow. For holes where you plan to plant four or more trees in, you will need a much wider hole than the 3-feet I recommended to you. Use the 18″ spacing as a guide.
Step 4 ~ Add Amendments & Soil
Now, with your fruit tree firmly in place, it’s time to add the amendments to get your fruit trees off to a great bionutrient start. For those of you who dug their planting holes and prepared the soil with amendments in the fall, feel free to follow the instructions below. Adding a few more amendments at this time can be of benefit to the tree and soil.
With the bare root fruit tree roots exposed and moist (I know I keep repeating myself but it’s that important), sprinkle a high quality endo mycorrhizae inoculant directly onto the bare roots (check the package for the recommended quantity ~ it’s usually about a tablespoon per fruit tree). An important thing to mention here is that in order for the mycorrhizae to perform its symbiotic magic, it’s best if the inoculant makes direct contact with the roots.
Next, sprinkle over the roots about 1 cup of bone meal and a portion of each rock dust (about 1/2 cup or so).
With those amendments in place, go ahead and begin covering the roots with the 50/50 soil mix making certain to water in the soil as you go. Add the water from the side of the root ball to try to prevent too much of the mychorrhizae inoculant from becoming dislodged from the roots. Once the roots are completely covered with soil, sprinkle an additional cup of bone meal over the area as well as another small portion of the rock dusts. Wet down the soil as usual. Refrain from tamping down or stepping on the soil as you fill the planting hole. Adding water will naturally (and perfectly) compact the soil.

When the hole is just about filled with soil (about 4″ from the top), stop watering the soil and sprinkle around what’s left of the rock dusts. Also, be sure to sprinkle and mix in some of the rock dusts into what’s left of the 50/50 soil mix you will be using to fill the rest of the planting hole. If you’re adding the Alaska Humus and/or Worm Castings, now is the time to broadcast it onto the soil, mix it in and finish filling the hole ~ remember avoid tamping down or stepping on the soil.
As a final step to filling the hole, we leave the top few inches of soil dry and then level the soil surface within the entire planting area by scraping a 4′-6′ long piece of flat wood across the surface. This step is optional, but it really helps to finish things off for those with OCD challenges 😀
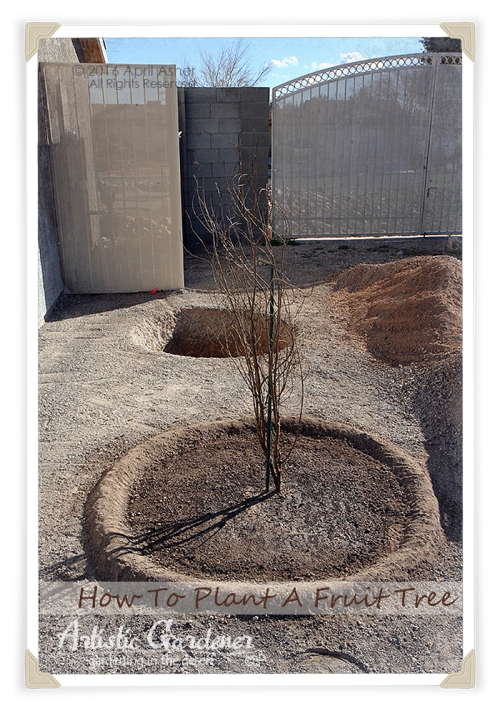
Step 5 ~ Build a Water Basin
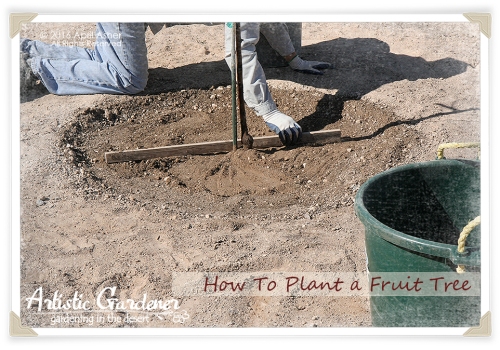
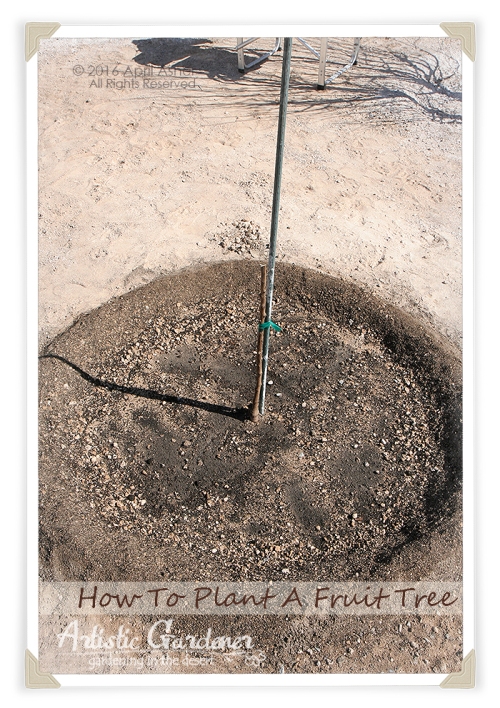
With the fruit tree planted and the planting hole completely filled with soil and leveled, it’s helpful to build up a water basin barrier around the entire perimeter of the original planting hole for deep soaking. This is where setting aside two to three 5-gallon buckets full of your 50/50 soil mix comes in handy.
Using your hands, mound up a 3-feet in diameter ring of 50/50 soil mix around the base of the fruit tree, firming the mound as you go along. To finish off the soil ring, I like to mist it with water to make it hold together better. As long as you avoid blasting the water basin ring with water, it should hold in place nicely for the entire year.
 Once the water basin is watered in well several times, a natural “water basin” (a.k.a. slight bowl) will form as the soil settles a bit. This is a good thing. As you know, water in the desert is a precious resource and taking advantage of mother nature’s gift any way we can is ideal. Plus, the water basin allows us to deep water our trees focusing the water at the root zone and avoiding wasteful run off. With deep soaking, the water will soak in and penetrate out into our native soil. Planting a fruit tree into a mound of soil or in an elevated planter is far from ideal in our hot and arid climate and can ultimately lead to more frequent watering ~ and wasting our precious resource.
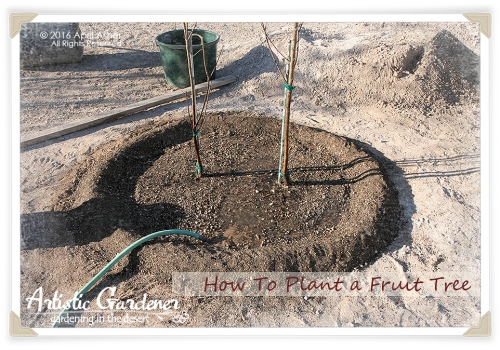
Step 6 ~ Water Your Newly Planted Fruit Tree
Shortly after finishing the planting process and building the water basin, it’s important to water in your newly planted fruit tree. To do this, simply place the end of your hose into the water basin and turn the water on to a gentle low stream and let it slowly fill the water basin to the top with water. Your goal is to allow the water to slowly soak down deep vs. filling the water basin quickly.
As your water basin is filling, take note of any areas that may be low or high. This is especially important if you have more than one tree in the planting hole. The goal is to water the tree(s) evenly versus the majority of the water traveling or settling to one side. To fix this, simply add a little more 50/50 soil mix to any low spots until you see the water filling more evenly within the water basin.
 Once the water reaches near the top of the water basin barrier, turn off the water and let it completely soak in.
In one hour, repeat the watering process above. When the water basin soaks in the 2nd time, be sure to check that no roots have been exposed. If they are, simply add a little bit more 50/50 soil mix to cover them.
When the second watering is soaked in, repeat the watering process one final time that same day. After this initial triple soaking, plan to water your newly planted fruit tree 3x per week until the tree has a nice flush of new growth (typically by March/April), then you can back off the watering to about 2x per week until summer. Then you will need to go back to watering 3x per week.
After a few days of watering your new tree, you may notice some cracking on the soil surface. If these do appear, especially cracks around the root zone area which can dry out the roots, simply add a little more 50/50 soil mix to the area to fill the cracks.
Also, take care to avoid a breach in the water basin wall by timing your water sessions properly. Too long and the basin will definitely overfill and breach ~ yikes! I like to hand water my baby fruit trees with a hose until they get settled in. Basically, I set the hose within the water basin, turn the water on to a gentle low stream and let it soak in for about 10-15 minutes or so (about 10-15 gallons). Just keep an eye on it to avoid a breach.
Step 7 ~ Now The Hard Part
Unless there’s an abundance of space in which to grow your fruit trees to full size (about 20 to 25 feet high/wide), you will more than likely need to actively manage the size of your tree’s growth in order to keep things tight and tidy to ensure a wee bit of wiggle room. This means maintaining fruit trees at a reduced height and width than they would normally grow and is quite a normal practice for a lot of residential orchards. There are a few options to keeping your tree’s growth “in control”. One way is to espalier the fruit tree along a wall or support and keeping it well pruned. Another way is to prune the fruit tree as a small maintainable bush. My favorite way to keep my orchard manageable is to keep them “ladderless”. This means maintaining the tree’s top growth to a height that does not require a ladder to harvest. For most, this is about 6-feet high. 7-feet if your tall, like hubby and I.
The first step to maintaining a fruit tree as ladderless is to encourage low branching so that any fruit harvesting activity will take place anywhere from about knee height to about 6-feet high. Initially, this requires a bit of bravery on your part.
Now comes the hard part. In order to encourage this ideal low branching it requires one to suck it up and ignore any “existing perfect fruit tree branching” and…
Chop…
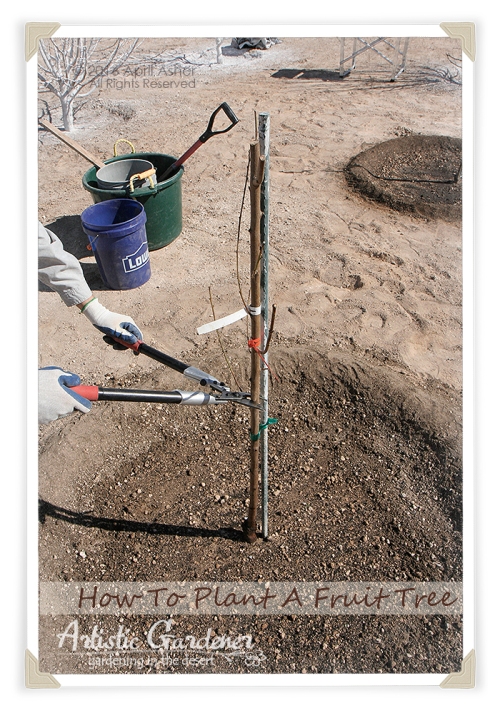 That…
That…
 Tree…
Tree…
 Making this initial single heading cut along the trunk of the fruit tree will set the stage for future growth of a ladderless open vase-shaped fruit tree. A word of caution. When you make that initial cut, just be certain it’s at a height you can live with down the road. We used to cut our trees at exactly knee height and after some time, found this to be a bit too low for us tall folk. In order to harvest the literal low hanging fruit, it requires us to get on hands and knees and scootch along the ground. In some cases, actually lay down in order to harvest the low interior fruit getting up close and personal with our soil aerating fire ants. Quite sub-optimal. Besides the occasional itchy painful fire ant bite, we also feel like a bit of a contortionist at times to harvest. So just keep this in mind when making that initial cut.
A key point to note here is that when making that initial heading cut, it’s the cut that helps you to determine where the first layer of new fruit-bearing branches will emerge. This new branching structure will appear within 6-8-inches below the heading cut. Knowing this should help you to determine where you want to make that first cut. Also, when making that initial cut, some folks like to make a straight cut, others a 45 degree cut facing down and away from a bud. Whichever you choose, be sure to make that initial cut about 1-inch to 1-1/2-inches above a bud to begin training your tree to form an open vase shape and to allow for any die back immediately below the cut. When die back does occur, if the cut is too close to a bud, you risk losing the bud as well.
As your tree begins to leaf out and become established in the orchard, the results of that initial cut will become quite apparent and sets the stage of forming an ideal open vase shape which allows optimum airflow and sunlight penetration into the future canopy of the fruit tree for awesome fruit color and flavor.
Another goal of that first heading cut is to encourage the tree to form a solid branching structure to help support future fruit harvests. Think of a bicycle wheel. In a perfect world, the spokes (a.k.a. branches) will be evenly spaced around the tree. That is if mother nature cooperates. As your tree forms its new structure, let it grow. Refrain from scratching off or cutting off growth within the 6 to 8-inches (plus a few extra inches just in case) below the cut. You’ll be choosing your future scaffolds at the end of the first year. In a future post, I’ll explain how to care for your baby fruit tree during its first year to include pruning. So for now, make the cut, sit back and watch God’s glorious work firsthand as your tree begins to grow and leaf out.
Up next
My next post will be all about what to do for your newly planted fruit tree(s) 1-week after planting. I’ll explain how to protect your tree from the elements (and critters) as well as kick off our preferred first year’s maintenance program. Keep a look out for this important post. Happy planting!
God Bless,

![]()